Why enable order beats “turn everything on”
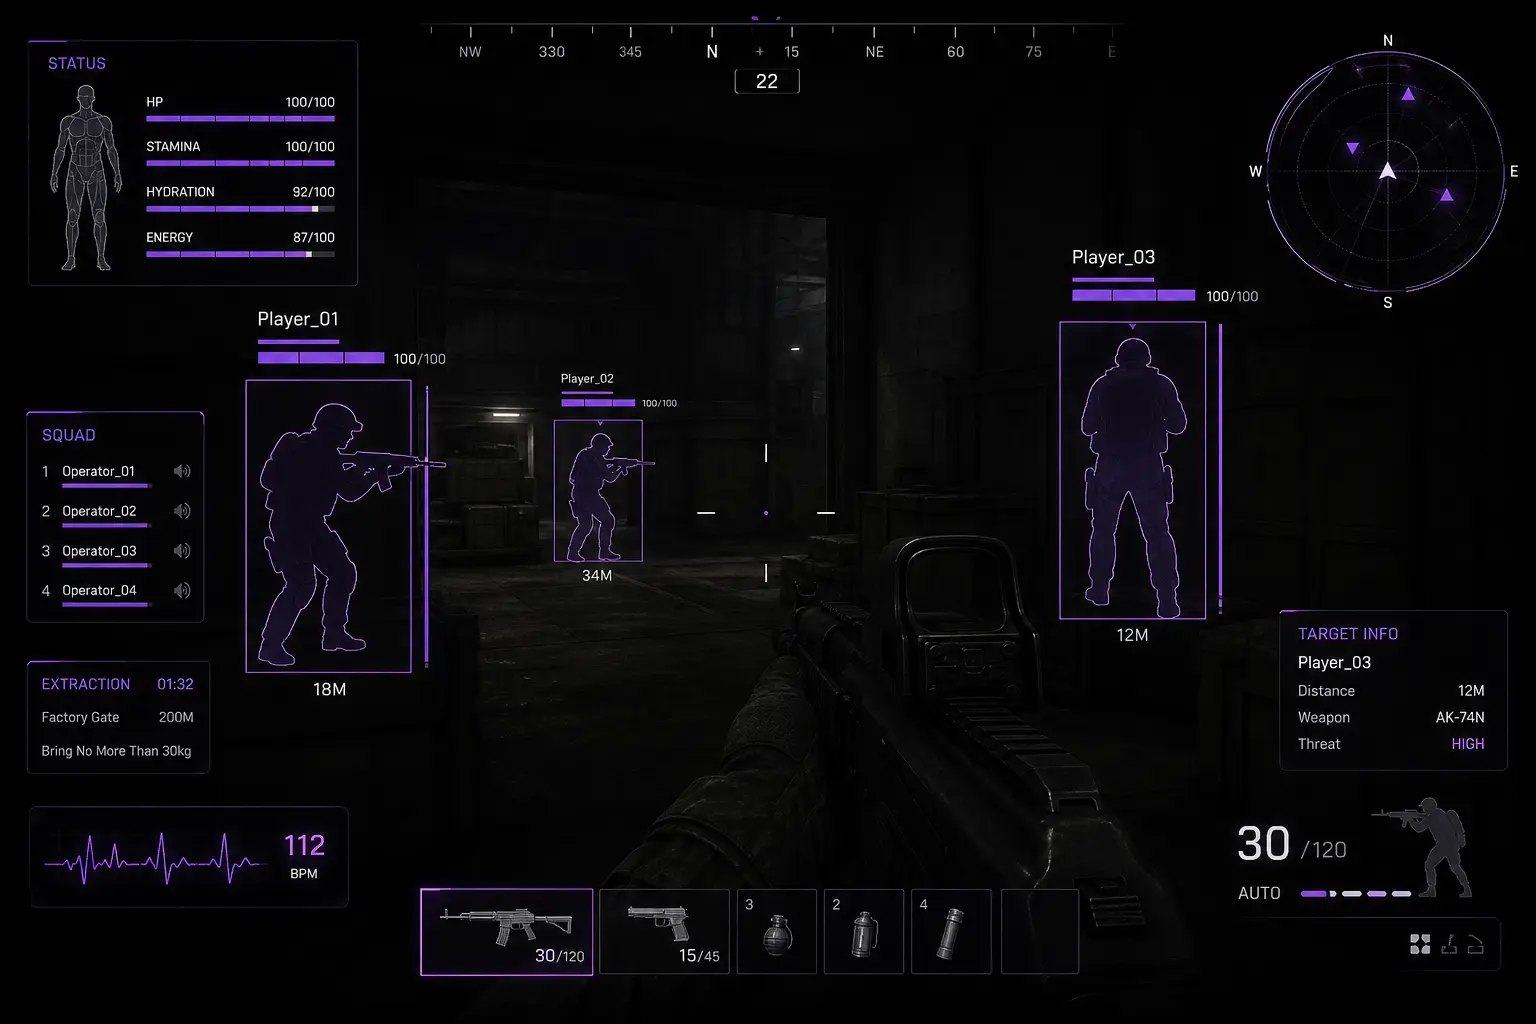
Day-one buyers often enable every ESP box, max every distance filter, and crank loot markers until the HUD feels like a second game. Then they die in CQC because they never trained a glance order. Overlays work when you add layers with a job for each one.
This checklist is the default ramp for Arena Breakout: Infinite. You can customize later. If you have not purchased yet, skim how to buy ABI cheats and the feature pages first — cheats / hacks.
Step 1 — Player chams
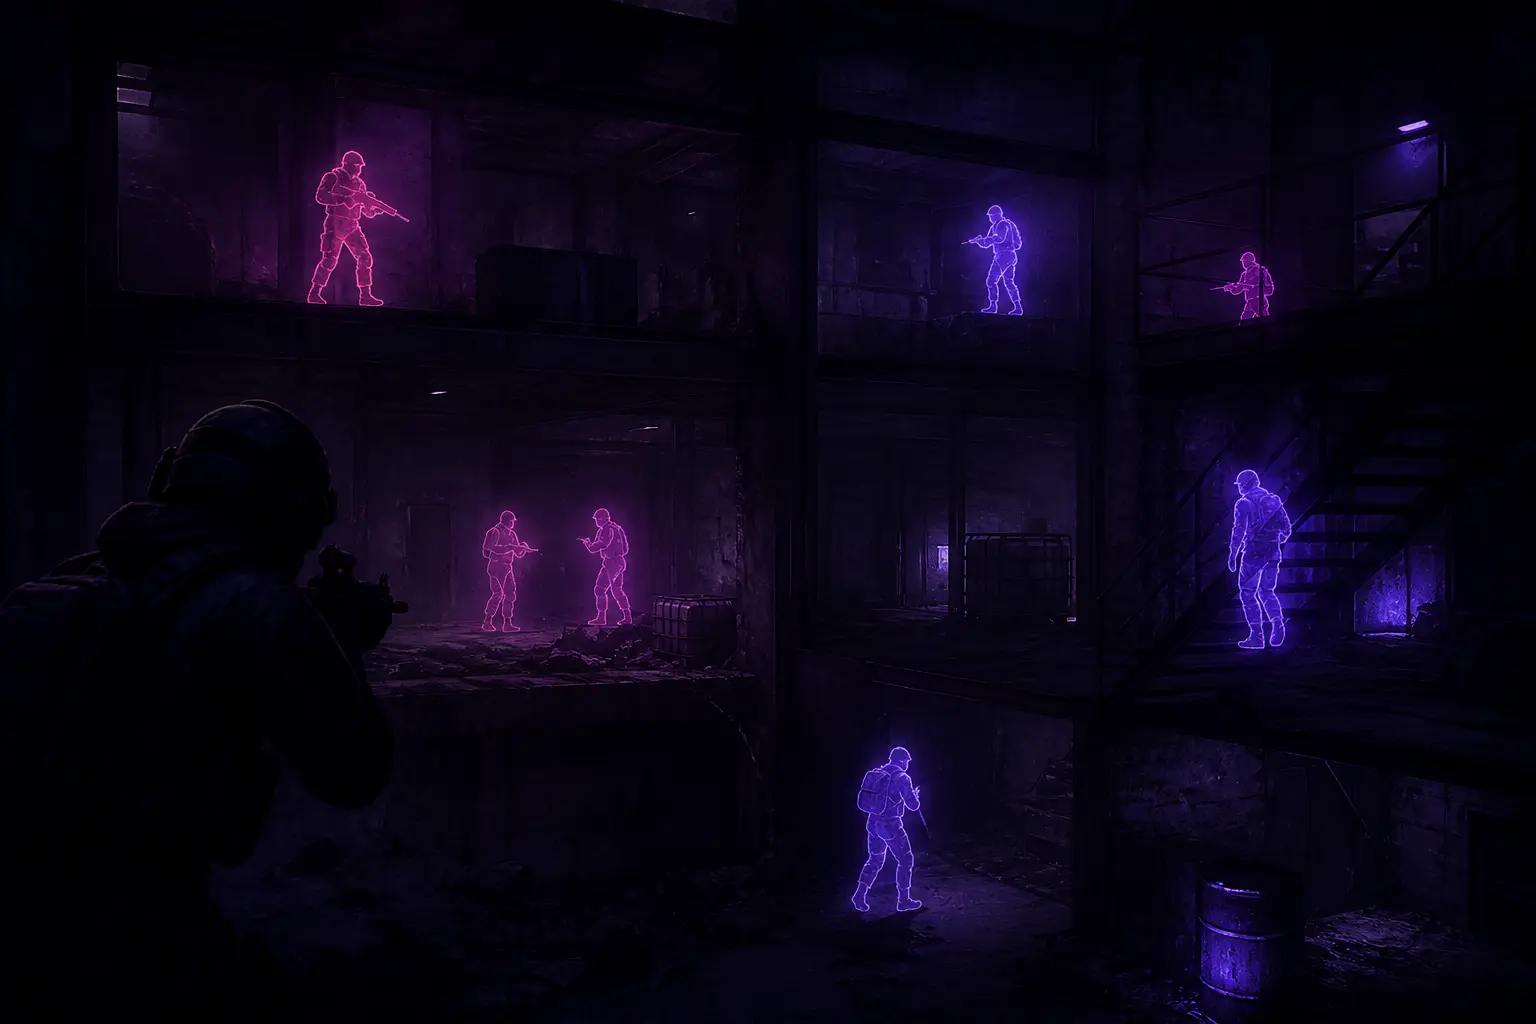
Start with player chams at readable opacity. Color-coded models teach your eyes what an operator looks like through clutter before you add distance numbers and crate icons. Run one short building clear with chams only. Confirm silhouettes in doorways and smoke. Details: chams guide.
Step 2 — Health indicators
Add health indicators next. Now a silhouette is not just “someone” — it is fight state. Practice one rule: full health behind hard cover means reset or utility; cracked and close can be a finish; cracked and far may be bait. Do not add loot tools yet. You are training push / trade / leave decisions.
Step 3 — Player ESP with a tight distance filter
Enable player ESP with a short-to-moderate range. Learn to glance at distance before swings. Keep the filter tight indoors. Only widen when you practice open rotates. Full ESP layer theory: ESP guide. Range recipes: distance filter settings.
Step 4 — Bots/NPCs ESP in a distinct color
Add bots/NPCs ESP with a color that cannot be confused with players. Clear one compound focusing on ammo discipline: only fight AI on your path. If player ESP lights up, stop farming bots. Habits: bots & NPC ESP.
Step 5 — Loot display, containers, rarity — last
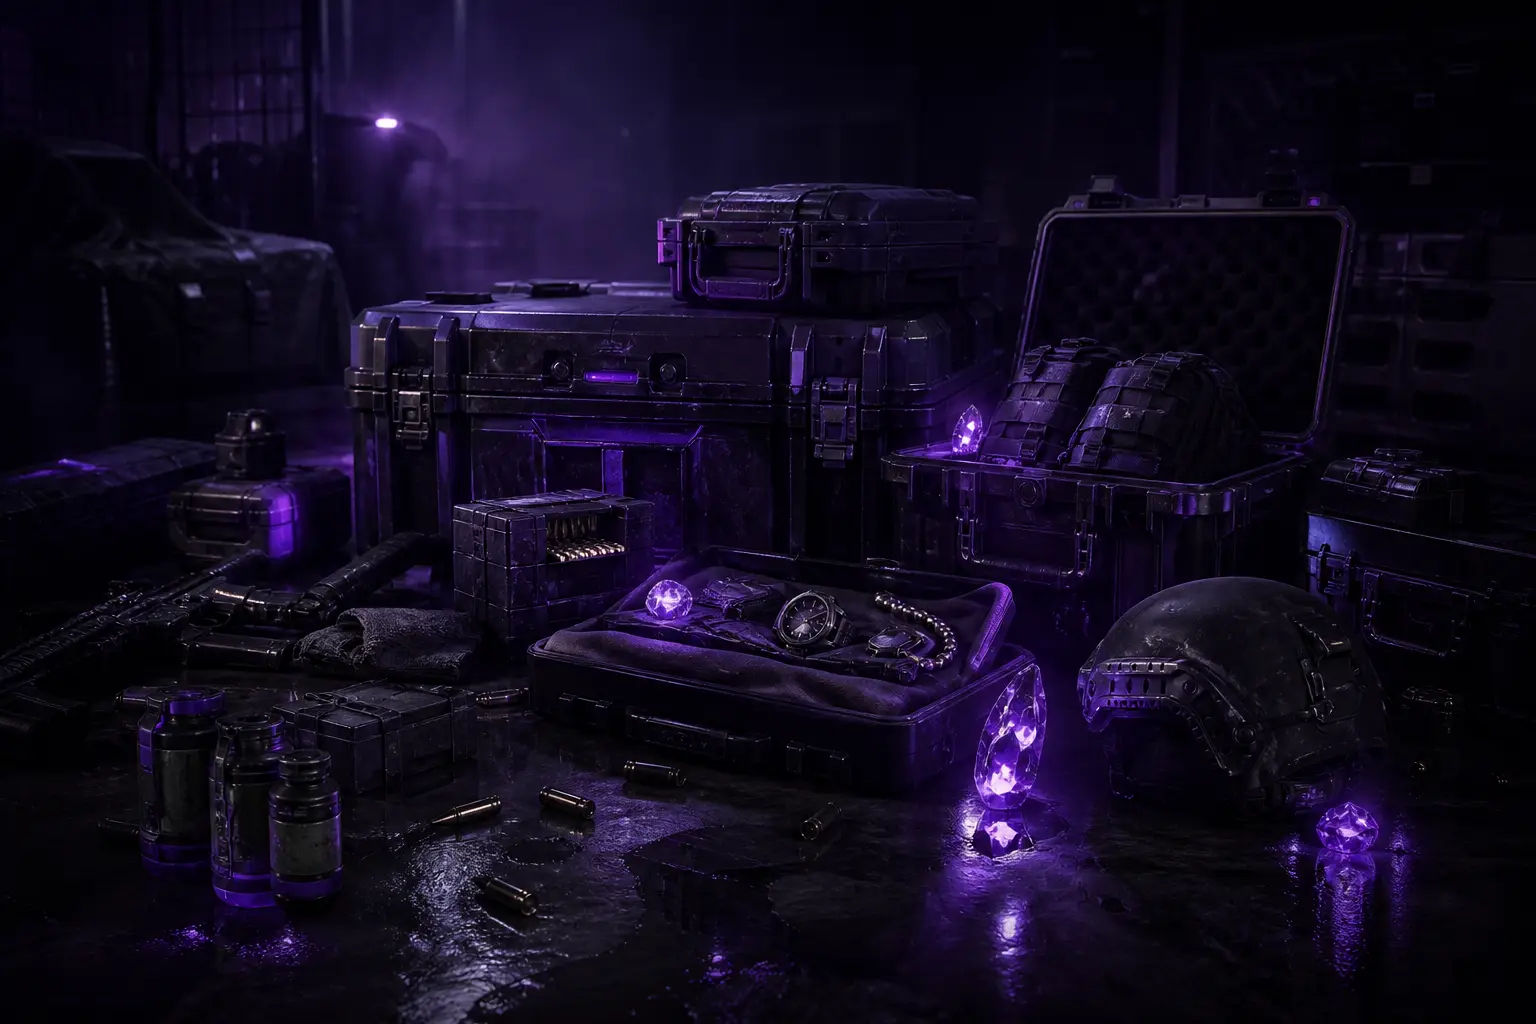
Only after threat layers feel natural should you enable loot display, container ESP, and rarity colors. Keep container distance moderate. Practice skip rules immediately so greed does not undo your setup work. Guide: loot ESP guide.
- Loot Display for valuables before you commit animation time
- Containers ESP for crates and lootable objects on your route
- Item rarity colors so high-tier gear stands out first
- Distance filter to cut clutter during building clears
Optional layers after the core five
- Wall penetration awareness — after you stop spraying every wall. Wallhack guide
- Stream-proof modes — before any public capture. Stream-proof guide
- Cloud DMA / AWS — only if delivery path is your reason for buying. Cloud DMA guide
- Players Chams with color-coded models for clearer operator reads
- Bots/NPCs ESP to separate AI enemies from real operators
- Health indicators for fight-state decisions before you push
- Wall penetration awareness for contested angles and extracts
- Customizable colors tuned for dark interiors and open maps
First three practice raids
- Building clear raid — chams, health, tight player ESP, bots ESP. No wide loot.
- Scav route raid — add loot filters; force skip rules; re-check player ESP between opens.
- Extract focus raid — clamp loot near extract; practice holds from extract with ESP.
After patches, restart from step 1 briefly — do not assume old max settings still read clean. Patch habits: updates after patches.
Buy and support
Ready to purchase: Buy ABI Cheats or BUY CHEATS below. Wording differences explained in ABI cheats vs ABI hacks. Questions: [email protected]. All guides: blog.